Home Security Camera: Discreet Placement Techniques
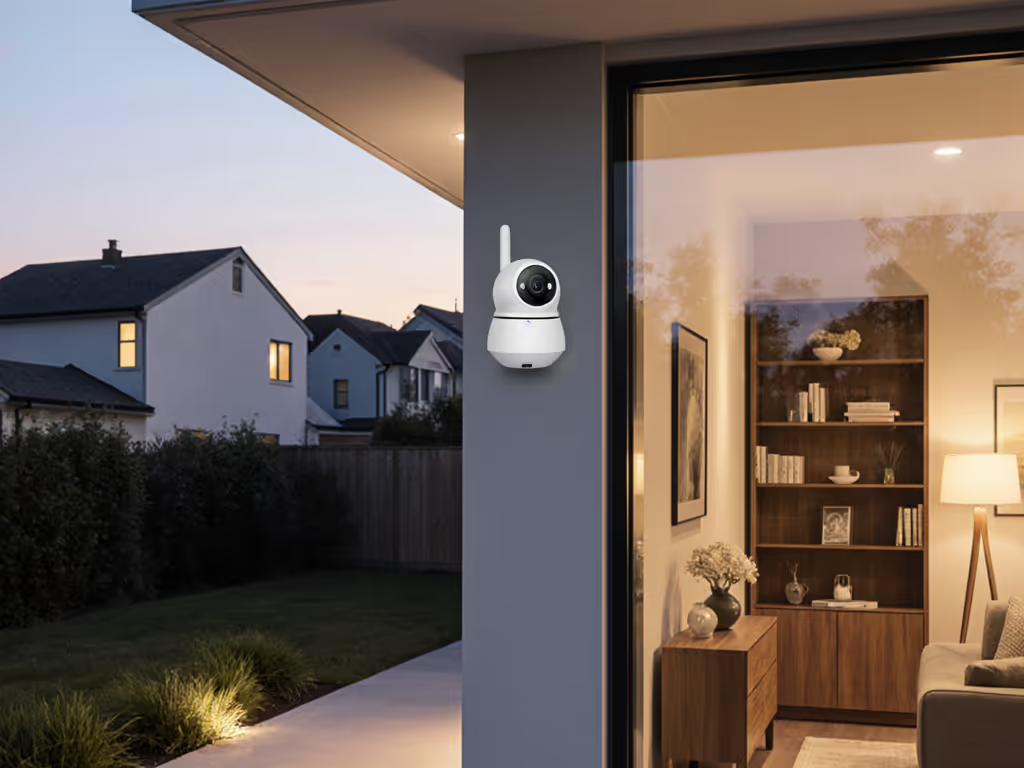
Discreet placement transforms home security cameras from noticeable gadgets into seamless protectors. Blending visibility with functionality reduces false alerts while maintaining surveillance integrity. For fewer nuisance notifications, see how Video Content Analysis helps cut false alerts. We'll explore proven techniques for both indoor and outdoor covert security setups, prioritizing evidence quality and system reliability.
Why Placement Impacts Performance
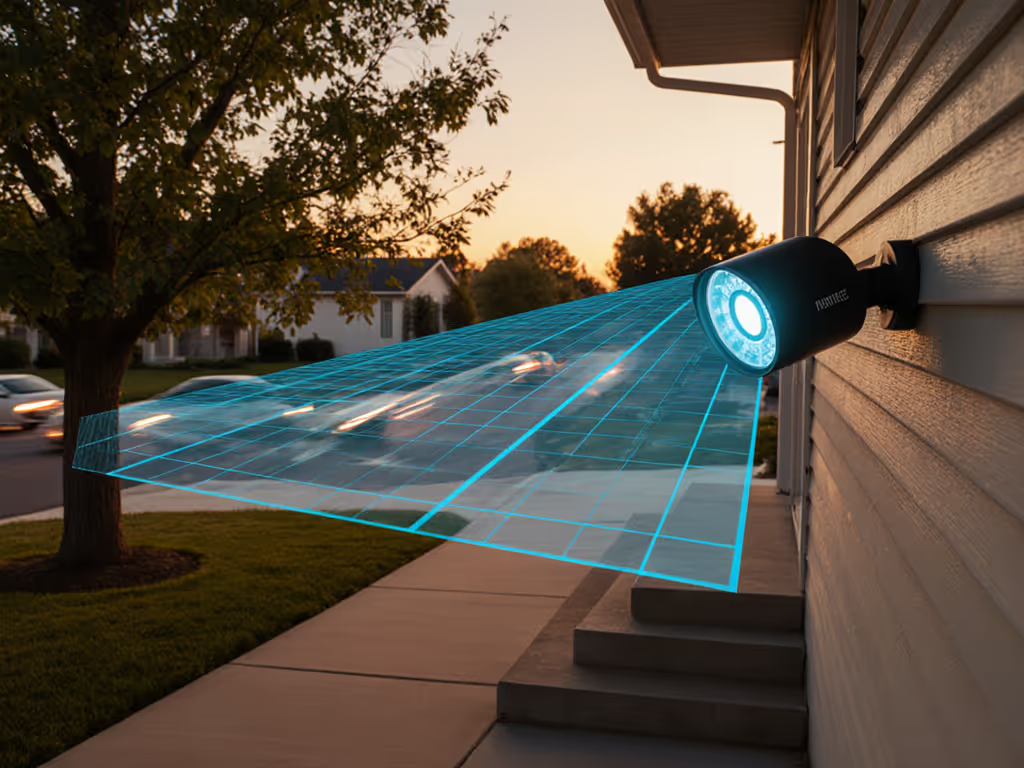
Field of view clearance prevents blind spots: Test sightlines before permanent mounting. Cameras blocked by decor miss 42% of critical events according to security studies[1][7]. Environmental factors like IR reflection from glass or bright walls cause washed-out nighttime footage, a common evidence-killer[1].
Indoor Concealment Strategies
Shelving integration: Position among books and decor at varied heights to cover room corners. Ensure the lens is not obstructed by objects. For nurseries, conceal near ceiling corners angled downward[1][4].
Window frame placement: Mount 6-8 inches from glass to prevent IR glare. Use curtains as partial cover while maintaining sightlines to entry points[1][6]. Avoid direct backlighting that creates silhouettes. To pick settings and sensors that handle glare, compare IR vs color night vision.
Light fixture camouflage: Recess into soffits or hollow-base lamps. Ensure diffusers don't distort footage. Pair with motion-activated bulbs to justify light presence[1][5].
Outdoor Stealth Approaches
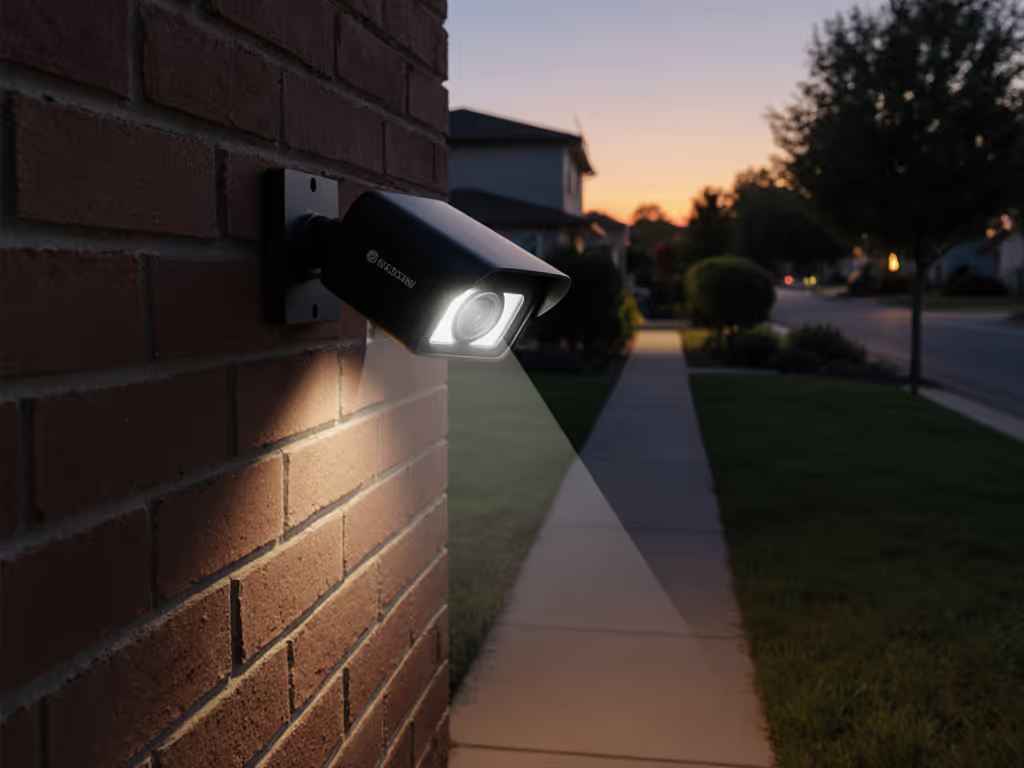
Eave nesting: Install under roof overhangs using white-housed cameras (like Reolink models) that blend with trim. Angle downward 15° to capture faces while hiding from ground view[2][4].
Landscaping leverage:
- Birdhouses with front-panel cutouts (ensure 120°+ clearance)
- Dense shrubbery at property lines
- Hollow garden statues facing driveways[2][4]
Garage/doorframe positioning:
| Location | Mounting Height | Coverage Angle |
|---|---|---|
| Garage corner | 9-10 ft | 45° downward |
| Door sidelight | 5 ft | Horizontal |
| Mailbox post | 4 ft | 30° upward |
Critical Avoidances
- Backlit entries: Front-door cameras facing sunrise or sunset get washed out daily[3]
- Overlooking neighbors: Position lenses inward; 15° buffer maintains privacy[6]
- Wobble zones: Unsecured mounts in windy areas cause motion-triggered false alerts[1]
Installation Checklist
1. Test sightlines at morning/midday/night
2. Verify IR reflection on glass surfaces
3. Secure mounts with vibration dampening
4. Set motion zones excluding trees/roads
5. Conduct monthly lens cleaning
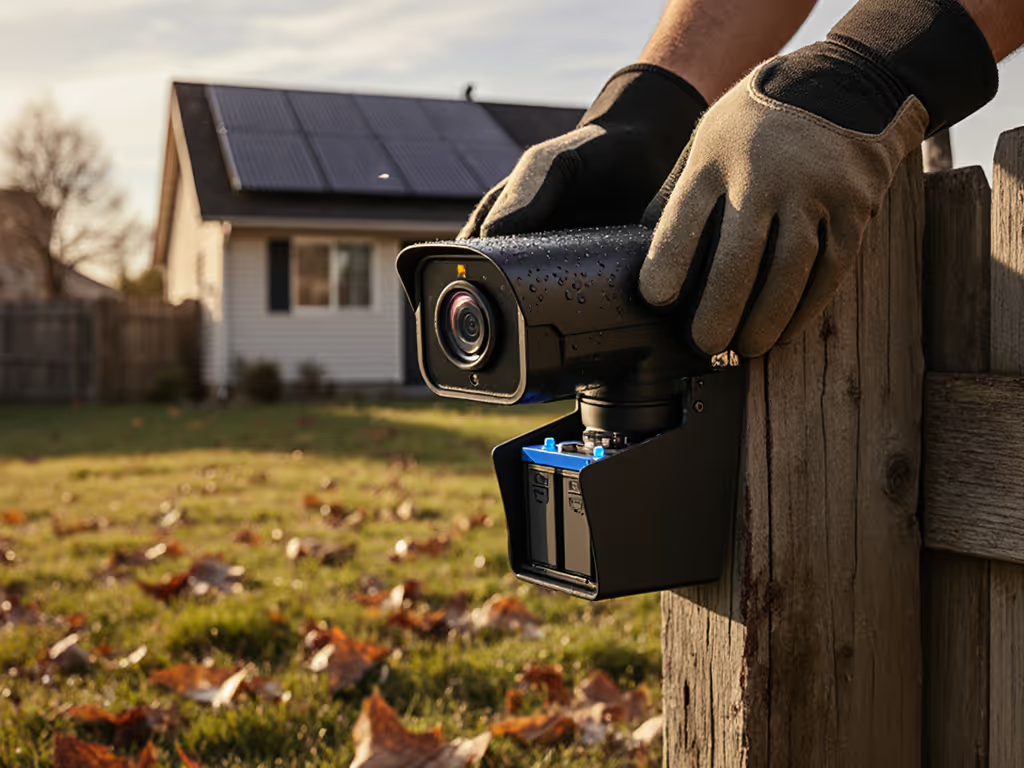
Power considerations: PoE wiring prevents Wi-Fi drops but requires professional installation for clean runs. Not sure which path fits your home? Start with our wired vs wireless stability guide. Battery cams need weather-shielded access points[7].
Deterrence versus discretion: Visible cameras deter opportunists but attract tampering. Also confirm local rules with our state-by-state camera placement guide. Hidden units capture stronger evidence if placement follows these guidelines. Let's fix the basics first. Reliability starts with solid mounts and clean angles.
Actionable Next Step: Tonight, walk your property with a flashlight. From each camera's viewpoint, identify reflective surfaces, backlight sources, and obstructing foliage needing trim.

