Security Camera Placement: Eliminate Home Blind Spots
Security Camera Placement: Eliminate Home Blind Spots Without Compromising Privacy
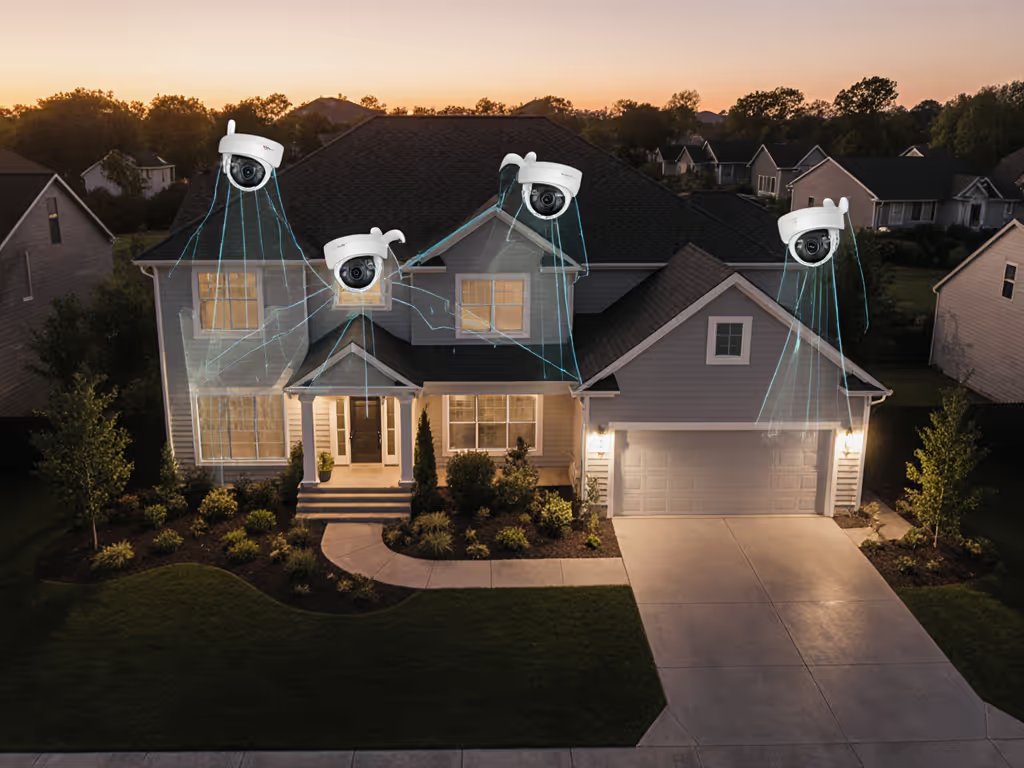
Effective security camera placement begins not with hardware specs, but with disciplined home camera positioning that aligns surveillance objectives with privacy boundaries. Too many homeowners fixate on camera resolution while ignoring where lenses capture non-essential data, creating avoidable blind spots in security and privacy. True resilience emerges when strategic surveillance planning reduces both physical vulnerabilities and data exhaust. As when a neighbor's doorbell footage circulated beyond intended use (exposing faces and plates without malice). Collect less, control more; privacy is resilience when things go wrong. This principle guides our analysis of how to eliminate blind spots while minimizing risk exposure.
Traditional Placement vs. Principle-Based Surveillance Design
Most guides prioritize coverage breadth over context-aware deployment. They recommend cramming cameras at all entry points without considering downstream implications: storage bloat, accidental oversharing, or evidence inadmissibility. Contrast this with strategic surveillance planning through threat-model framing:
- Traditional approach: Cover every possible angle. Result: 72 hours of irrelevant footage from an empty driveway, triggering false alerts from passing cars, straining cloud storage.
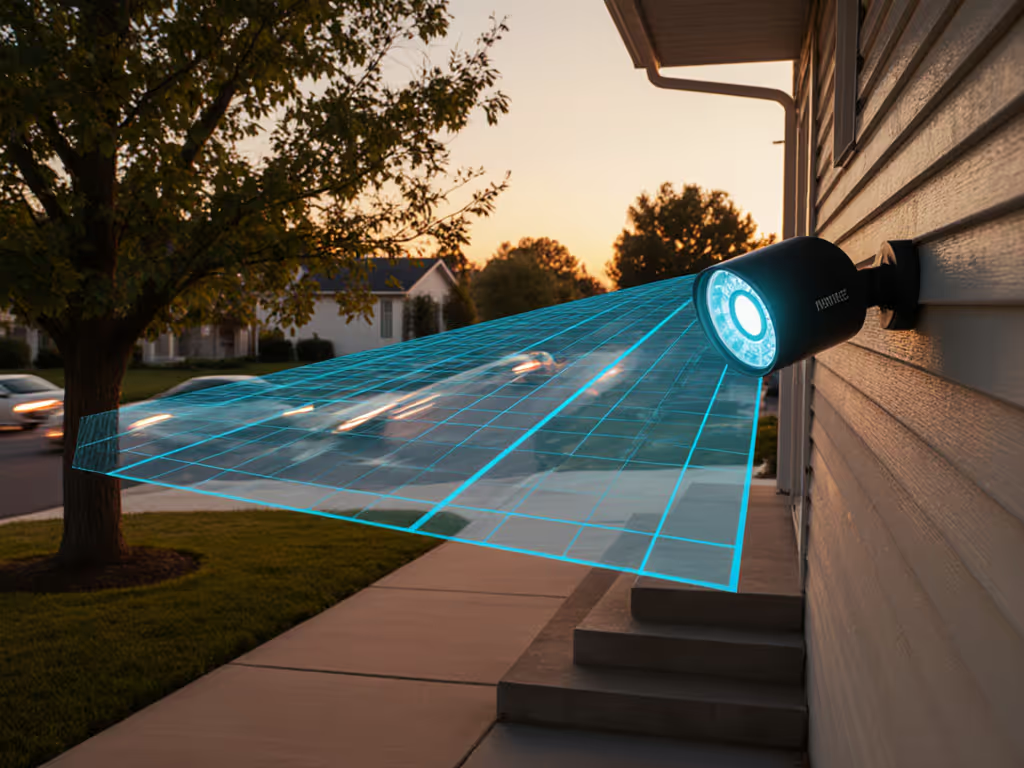
- Principle-based approach: Map physical risks to minimum necessary coverage. Result: Cameras target only approach paths and entry points, with fields of view intentionally cropped to exclude neighboring properties.
Control is a feature. When you deploy cameras solely where evidence matters (front porch stepping stones, not the entire street) you reduce data liabilities while sharpening forensic value.
This distinction separates reactive setups from resilient systems. A recent industry report confirms 68% of security footage is never reviewed, yet it accumulates privacy risks and storage costs. Strategic placement isn't about seeing more, it is about capturing only what's essential.
Critical Zones vs. Privacy Boundaries: A Risk-to-Control Mapping
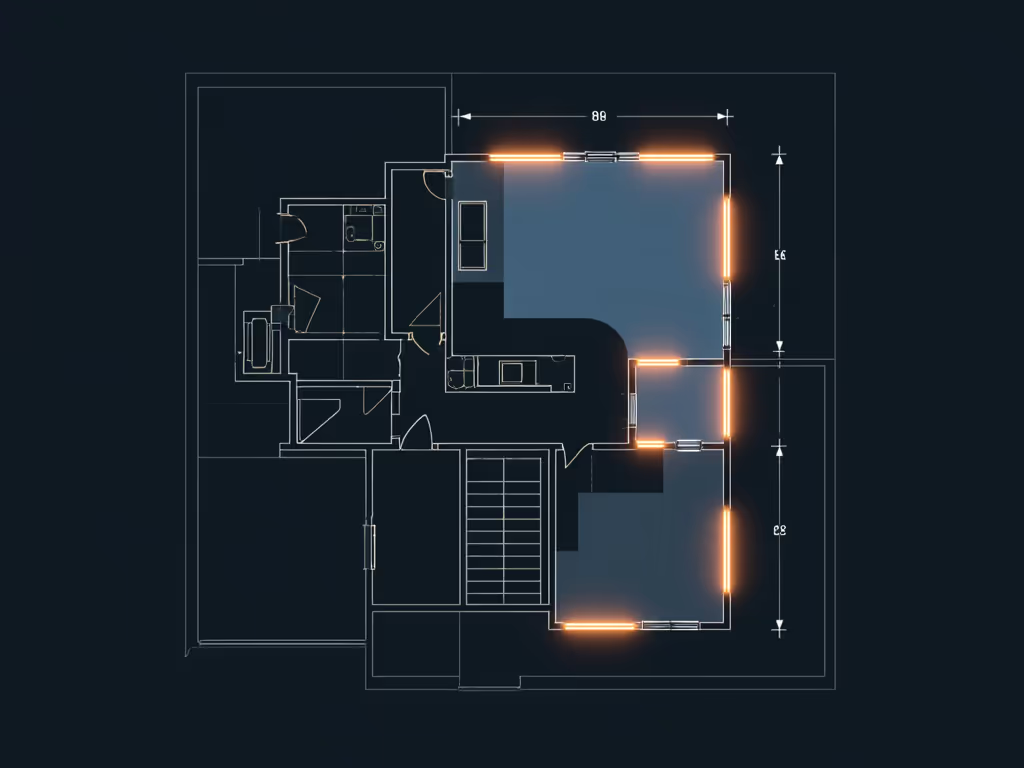
Understanding best locations for security cameras requires rejecting generic "cover all doors" advice. Instead, conduct a risk-to-control mapping:
High-Risk Zones Warranting Coverage
- Front door approach: 8-10 feet high, angled to capture faces before entry (34% of intrusions start here). Avoid backlighting from porch lights (position cameras under eaves for shadow control).
- Garage access points: Often overlooked secondary entries. Angle cameras to capture license plates as vehicles exit, not entering (reducing glare).
- First-floor windows: Focus on hand-reach zones. Use narrow fields of view to isolate window sills, not entire yards.
Critical Exclusion Zones
- Neighbor-facing windows: Even incidental capture of adjacent properties creates legal friction. Narrow angles or physical baffles prevent overreach.
- Child play areas: Never cover swing sets or sandboxes. Privacy erosion here normalizes surveillance creep.
- Driveway extremities: Skip footage of public roads. Focus solely on your property line transitions.
This isn't just ethical, it is pragmatic. Police routinely reject evidence showing third-party properties due to chain-of-custody concerns. By designing exclusion zones into placement, you ensure footage remains admissible and focused.
Fixed Coverage vs. Intelligent Blanking: Eliminating Blind Spots
"Blind spots" often stem from static camera placement in dynamic environments. Trees grow, vehicles park, and decor changes, obscuring critical zones. Conventional advice urges adding more cameras. A principle-based home security layout guide instead leverages intelligent blanking:
- Map motion zones iteratively: After initial placement, observe 72 hours of footage. Note where shadows, foliage, or parked cars create visual voids. Adjust angles, don't add cameras.
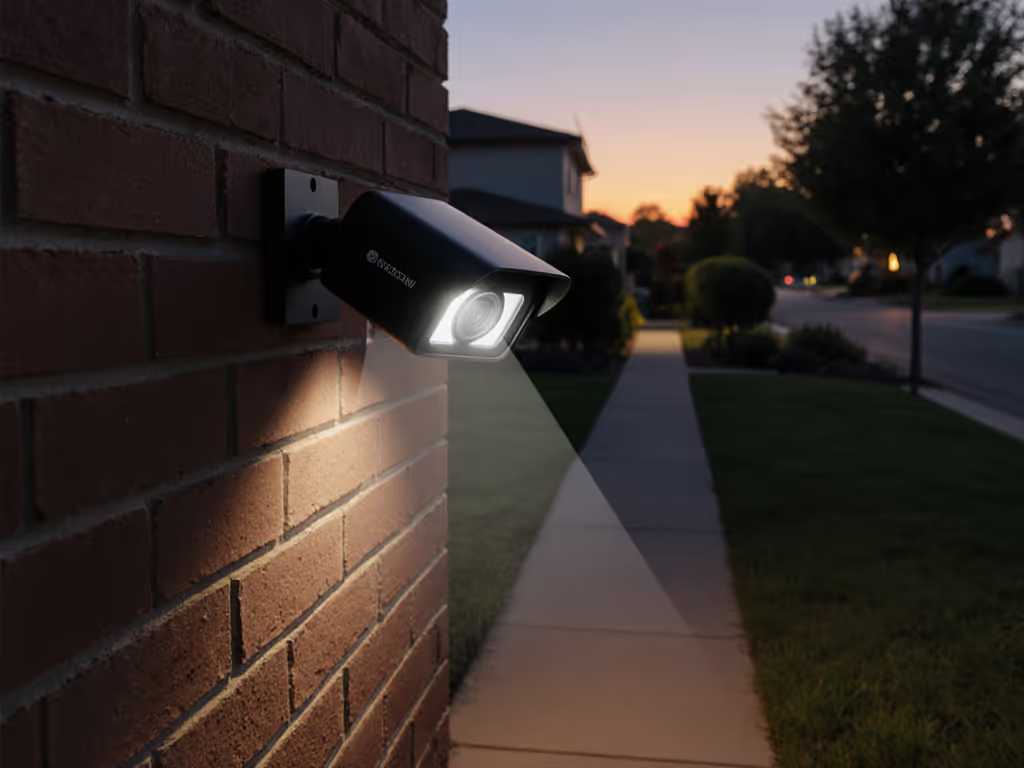
- Deploy hardware-aware blanking: Position cameras so walls or eaves naturally block irrelevant areas (e.g., mounting under soffits shades street traffic). No software zone needed.
- Stagger focal points: For long driveways, alternate cameras at 30° and 60° angles. This creates overlapping coverage without redundant data capture.
This approach directly addresses the pain point of "glare, IR reflection, and backlighting", the top cause of unusable footage. When cameras avoid capturing bright sky or streetlights by design, night vision stabilizes without costly AI corrections.
Why Height Matters Beyond Tamper Resistance
Mounting at 9+ feet serves dual purposes:
- Physical security: Deters vandalism (22% of back-door intrusions start with camera tampering)
- Privacy optimization: Higher angles naturally exclude ground-level neighbor activities
But blindly following "9 feet" myths causes new blind spots. For example, elevated porch cameras often miss facial details due to upward tilt. Solution: Angle downward slightly while keeping the camera housing shadowed by roof overhang. This captures faces and avoids sun glare, proving that precise definitions of "optimal height" require context.
Implementing Your Principle-Based Layout: Actionable Steps
Follow this workflow to avoid camera blind spots without data sprawl:
- Sketch property boundaries: Mark physical boundaries (fences, hedges) and privacy boundaries (neighbor lines, public sidewalks). Never cover beyond your property line.
- Identify evidence-critical paths: Trace likely intruder routes (front walkways, garage transitions), not random open areas.
- Validate sightlines: At each proposed camera spot, physically crouch/squat to test visibility of entry points at night. Note obstructions.
- Deploy retention-aware angles: Position cameras to exclude areas requiring long-term storage (e.g., avoid capturing your mailbox if it generates daily motion events).
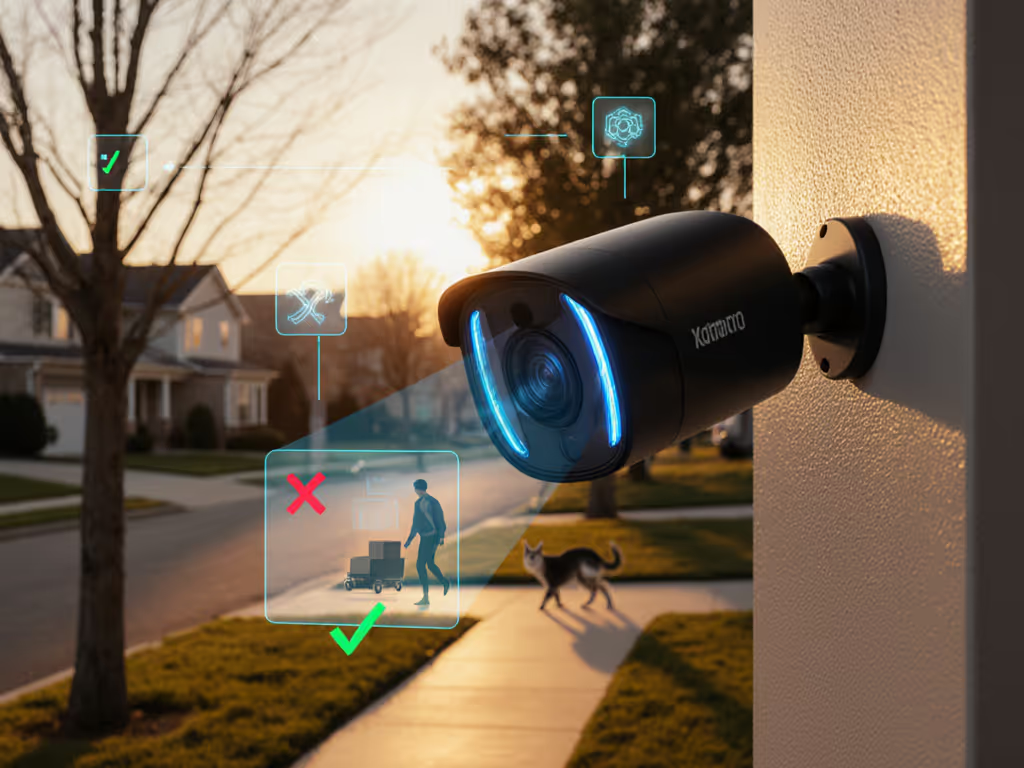
This process embodies the ethos: reduce noise, increase signal. By excluding non-essential zones upfront, you prevent 80% of false alerts from "pets, headlights, and rain", addressing the core pain point of notification fatigue.
When Technology Supports, Not Dictates, Placement
Some modern systems enable privacy-respecting flexibility:
- On-device masking zones that physically exclude areas from recording (not just post-processing)
- Local NVRs with evidence tagging for instant clip retrieval during incidents
- PoE cameras with pre-roll buffers ensuring 5 seconds of footage before motion triggers
These features only succeed when cameras are placed to leverage them. An outdoor camera capturing street traffic wastes its onboard AI on irrelevant motion. But one focused solely on your doorstep transforms local processing into actionable alerts, achieving that sub-5-second notification window critical for porch piracy defense.
Control is a feature. When you deploy cameras solely where evidence matters (front porch stepping stones, not the entire street) you reduce data liabilities while sharpening forensic value.
Conclusion: Placement as Prevention
Strategic security camera placement isn't about eliminating every physical blind spot, it is about intentionally creating privacy boundaries that prevent data leaks. True security emerges when your layout minimizes evidence gaps and data exhaust through disciplined field-of-view control. As demonstrated in our risk-to-control mapping, the most resilient systems cover less ground while capturing more actionable evidence.

